Nothing aggravates me more than individuals or organization sending out (or making available) important information in a Word file. How difficult is it to create a small, widely supported, open-source PDF? Not difficult at all.

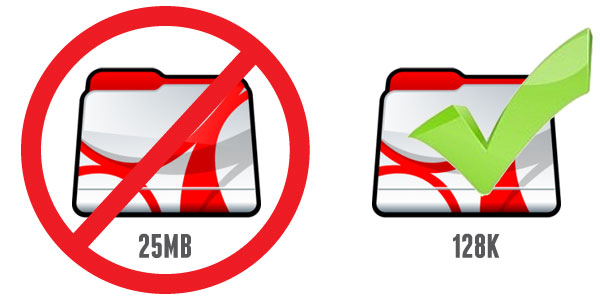
Just below that level of aggravation is another matter spawned from a similar lack of detail. File compression. You know, making files much smaller than they really need to be. We all consume compressed music, videos and photos. Why not add PDF to that list? ProGravix delivers artwork in compressed ZIP archives, and we always create media consumed by our client’s customers in a perfectly compressed format.
The best place to implement compression is within our PDF files. Certainly we want to create high resolution artwork (for those times that the printer prefers PDF). But when it comes to making brochures, sales sheets, manuals, et cetera available on our websites, what’s the point in posting that huge 250MB file? The chance that they are going to print it is very slim, so creating a low resolution file that’s great for online viewing is what we need.
There are several levels of PDF compression. By default, a high resolution PDF (preferred by printers) contains 300dpi images and uncompressed text and vector elements. These types of files are extremely bloated, resulting in very long load times – which is fine when you are sending art to a printer… it only needs to be uploaded and downloaded once.
Adobe has developed several compression presets. The two I most widely use are High Quality and Smallest File Size. High Quality is great for creating artwork or high res proofs. Smallest File Size is great when you need to make files available on a website for download. The downside to the Smallest File Size preset is very low image quality. All images are reduced to 72dpi, with a very high JPG compression. I think the best option is the sweet spot between these two presets.

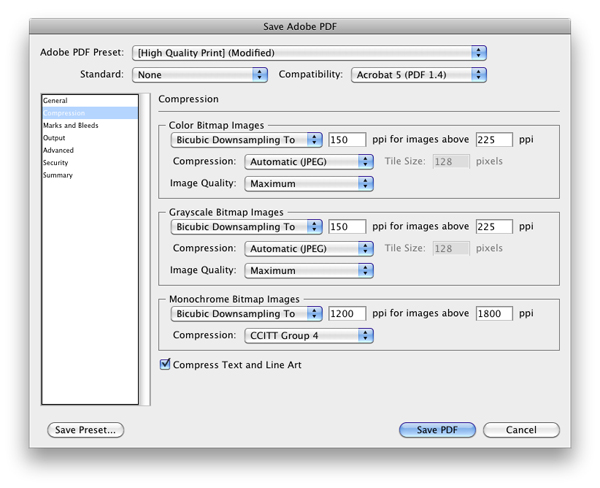
When creating a web-ready PDF file, where images need to be slightly better than web quality, I choose the High Quality preset, and modify the compression settings. Set Color Bitmap Images and Grayscale Bitmap Images to 150ppi. Also make sure that Compress Text and Line Art is checked. You can also choose to lower the ppi for Monochrome Bitmap Images as well (if your document contains them).
I usually keep JPG Compression to Automatic, but you can test your results, and choose a compression that suits your needs.
Overall, we need to be mindful of our visitors time. We need to allow them easy access to our information, at a reasonable speed.
This has been today’s Clarified Butter.
