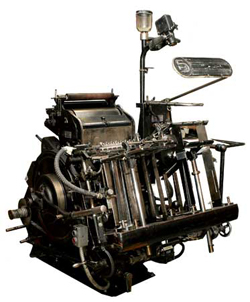
 Over a decade ago we used to prepare files for film producers, to create negatives from which metal plates were made for the purposes of offset printing. Long gone are the days of right-reading, emulsion-up, negative specs (at least for us). I remember dropping off a ZIP disk (remember those?) to a service bureau, having the receiver tell me that my files were always perfect. She explained that I always provided the necessary fonts, embedded images, and such. This resulting in a much faster turnaround time.
Nowadays, practically everything is digital, from design to press. This helps smooth out pre-flight issues, but there are still some general rules that you must follow in order to meet a print shop’s requirements. A lot of press houses provide templates and specific guidelines for their purposes, but in general, these will help you avoid any hiccups.
Bleeds
A bleed is the extra artwork that extends past the trim mark. In general, a 1/8″ bleed is sufficient. Some printers request 1/4″, but that is typically reserved for larger booklets or manuals.
Trim marks
Trim marks (also referred to as crop marks or registration marks) are those guides at each corner of the printed piece that show the final cut size. In full color printing, these help with registration, showing that all colors are being printed perfectly in sync.
Resolution
In general, raster artwork should be developed at 300dpi. Some large scale items such as trade show booths and banners can be developed at 150dpi, but I recommend checking with the manufacturer of those items. Artwork developed in Illustrator in usually resolution independent. However, raster items, such as drop shadows, should be set at 300dpi.
Outline text or provide fonts
To resolve any font issues that may arise, convert all text to outlines. In applications that do not support this, make sure to provide all fonts used in the piece. In general, a PDF Press Ready file will include the fonts, but some fonts have licensing restrictions, and cannot be embedded in PDF files.
CMYK
Unless otherwise directed by the printer, your artwork should be in the CMYK color space. Most full color artwork is printed on a four color offset press. Make sure your artwork is in CMYK mode from the very beginning. Transitioning from RGB halfway through a project’s development can produce unwanted color issues.
File format
The industry standard artwork format is PDF Press Ready. Again, you should check with your printer, but the PDF format is widely supported across all platforms. For the most part, what you see is what they will see, but again, it’s not foolproof. If you have a very complex file, I recommend converting it to raster, providing the file in TIFF format.
This is just a few general guidelines. Again, check with your printer. In most cases, we don’t know who the printer is until we are asked to provide artwork. In can be difficult to go back and implement some of these tips, so keep them in mind.
This has been today’s Clarified Butter.
