Facebook recently announced that Facebook Pages for Businesses will be receiving the same new Timeline layout that personal accounts have had for some time now. I know, I know, most of you are getting sick and tired of the constant changes over at Facebook, but I think this new layout is awesome.
Over the past couple of days, I’ve been trying to figure out how to add a custom Page Tab in this new layout. Page Tabs are those rectangular thumbs below your cover photo (which include a tab for Photos and Likes by default). Any apps you have installed would also be presented here.
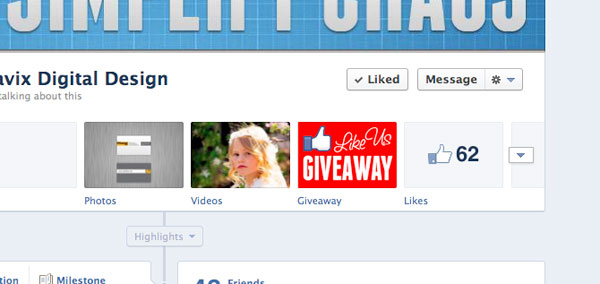
I could easily create the Page (the actual page that shows the content), but getting the actual Tab to show up on my Facebook Business Page wasn’t so easy…
In this post, we’ll be discussing how to create a Page Tab to display custom content inside of Facebook. In other words, create a website page within Facebook that is associated with your Business Page. This is useful if you want to post a coupon, promotion, or other content that doesn’t fit elsewhere on your Facebook Business Page.
The Page Content
Before you do anything, you need to create the actual content to display within the Facebook page. I won’t go into specifics with this, since this is outside the scope of Facebook (and this post). In general, you need to create an HTML page, using any technology you prefer, such as HTML, CSS, PHP, JS, etc. My only suggestion is keeping the content no wider than 790px. It’s also best not to have the content very tall. If you do, those ugly iFrame scroll bars will likely appear. Once you have your content developed, it needs to be available online. If you need help developing the content, and/or adding it to Facebook, please contact us.
For the purpose of this tutorial, let’s assume your content is created and available at http://www.example.com/facebook/index.html.
The Facebook App
Don’t go running off now! Yes, we are going to create a Facebook App, but only for the purpose of creating the Page Tab. You don’t need to be a developer, or know anything beyond what you already have in your noggin. Go to https://developers.facebook.com/apps and click on Create New App.

Enter a name for your App. This isn’t really important, since you are going to be the only one that sees it. Also, namespace is not needed since we are just creating this app for a Page Tab. Click Continue, and complete the CAPTCHA security check.
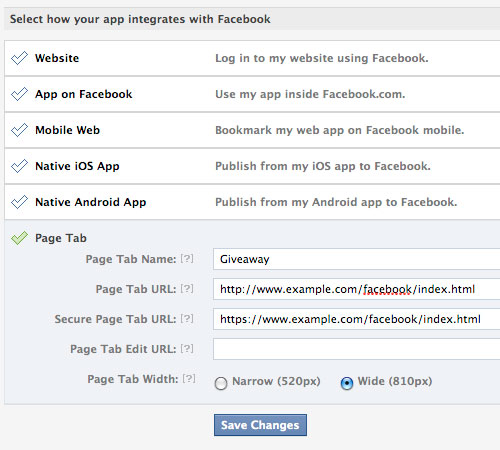
On the Basic Settings page for your newly create app, no further information is needed under Basic Info, so click on the Page Tab selection at the bottom.
For Page Tab Name, enter the name you would like to appear below the button on your Facebook Page.
For Page Tab URL, enter the URL where the content exists on your server. Our example above was http://www.example.com/facebook/index.html.
For Secure Page Tab URL, enter the SSL URL where the same content exists on your server. This would be a URL that starts with https://. For example, https://www.example.com/facebook/index.html
You can leave Page Tab Edit URL blank, choose Wide (810px) for the Page Tab Width and click Save Changes.
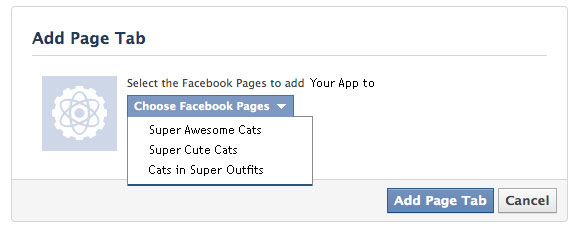
Now, the part that was nearly impossible to figure out. I’m not sure why Facebook doesn’t provide a way to install the app to your page from within the app’s settings page. Maybe this is a glitch that will be cleared up soon. While you are still on your app’s basic settings page, make a note of your App ID and Page Tab URL (which in our example is http://www.example.com/facebook/index.html). Open a new browser window and go to:
https://www.facebook.com/dialog/pagetab?app_id=ENTER_APP_ID&next=ENTER_PAGE_TAB_URL
Make sure to replace ENTER_APP_ID and ENTER_PAGE_TAB_URL with your variables. Hit enter, and then choose the page you wish to install your new App to.
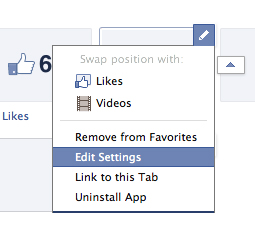 Now, go back to your Facebook Business Page. You will now see the new Page Tab button, and the name you chose below it. As of right now, it shows the default Facebook App icon. To change this, click on the triangle to the right of your page tabs, then hover over the new tab and click the pencil to pull up the options. Click Edit Settings. When the new window appears, click on Custom Tab Image and follow the steps.
Test your new Page by clicking on the Page Tab. The content you have posted to your server will now be displayed within Facebook.
This is a simple implementation of a Facebook Page Tab. Page Tabs can be enhanced to perform many advanced functions. The most popular is a like-gate, where you hide content, such as coupons or promo codes, from visitors until they Like your page. Hopefully a future blog post will cover this, but for the time being, I think getting this far using the new Timeline layout for Facebook Business Pages is a huge accomplishment.
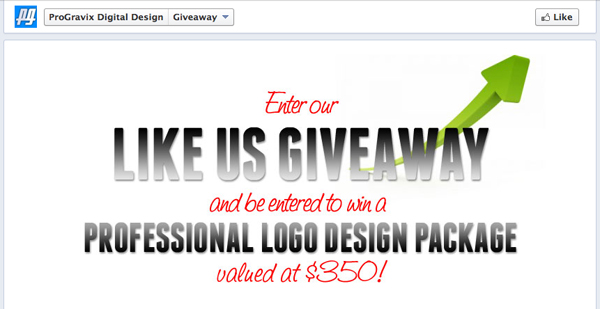
To see an example of a working like-gate experience, head on over to our current promotion on Facebook (promotion has expired). This is using the same method we just outlined, with the added like-gate code (wherein we hide the entry form from the visitor until they like our page). While you’re there, like us so you can be entered to win a Professional Logo Design Package, valued at over $350!
This has been today’s Clarified Butter.



 Adding a Facebook Like button to your non-Facebook content can greatly increase its ability to be more social, and be shared with a greater audience.

 Regardless of whether you like it or not, everybody will eventually have the new Timeline layout for their Facebook profile or page. I personally like it. I think the layout is cleaner, and provides more flexibility when it comes to customization.
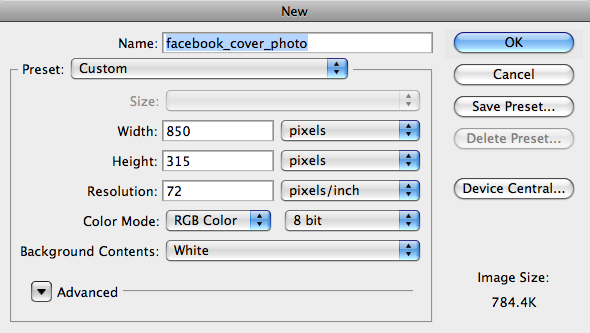
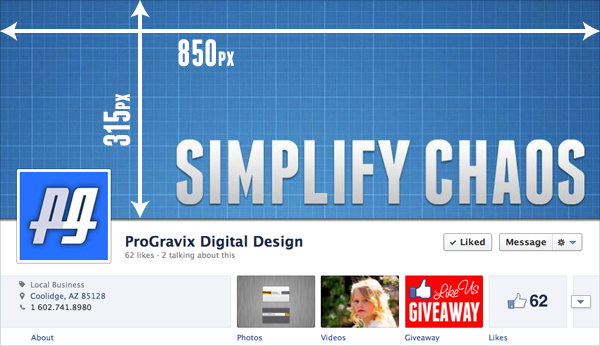


 Now, go back to your Facebook Business Page. You will now see the new Page Tab button, and the name you chose below it. As of right now, it shows the default Facebook App icon. To change this, click on the triangle to the right of your page tabs, then hover over the new tab and click the pencil to pull up the options. Click Edit Settings. When the new window appears, click on Custom Tab Image and follow the steps.